Installation
INSTALLATION NOTE Please read the instruction for installing and grouting the tiles before you start. Tiles should not be installed on an area exposed to direct sunlight. Shading net should be put up to prevent the tile adhesive from drying too quickly
TILE INSTALLATION
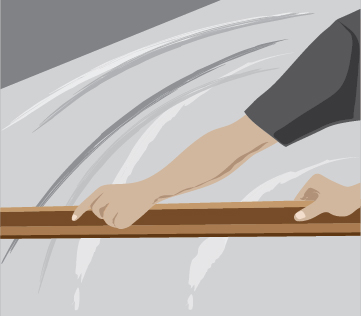
1. Level the floor or wall to have the desired level.
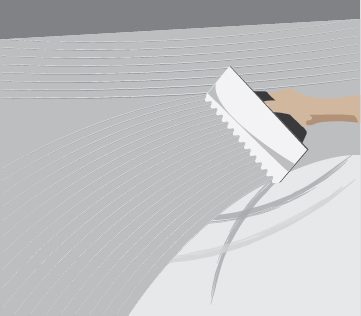
2. Butter the adhesive for approximately 5-7 mm. thick. Use a notched trowel to make long scratches on the surface that requires tiling.
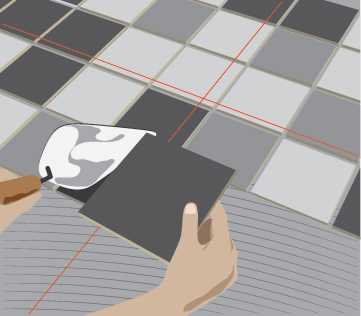
3. Stretch the control strings vertically and horizontally to outline the interval of tiles. In case of a large area, The interval may be of 1- 1.5 meter wide. Prepare the tiles of at least 3-5 boxes. Start tiling from the center of the area. Leave the joint space for at least 6 mm. (since the sizes of tiles are different). Press with hard, medium and light colour weight alternately.
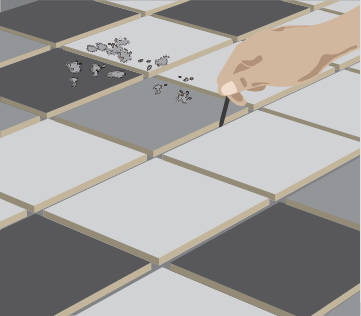
4. When the paved tiles are stable, Start to clean the tiles joints to removemortar bits and surplus. Leave it to dry completely for 24 hours.
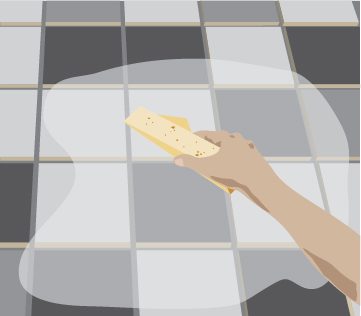
5. Use a wet sponge to wipe the tile surface where grouting is needed. (Wet tile surface can prevent the grout from sinking into the tile surface)
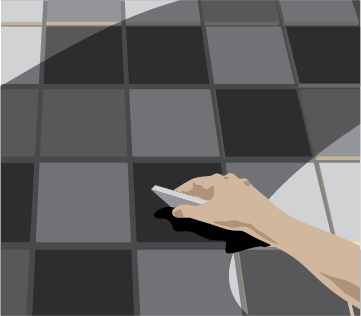
6. Mix the grout to it right proportion. Use a trovel or a grout spatula to wipe the grout across the tiles to put the grout into the joint. Suppress the grout evenly to be at the same level as the tile rim.
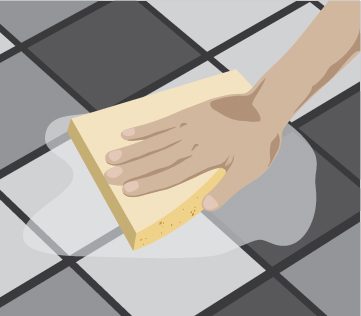
7. Approximately 10-15 minutes, but never more than 30 minuites after grouting (hazing), use a damp delicate sponge to wipe the surface once to one direction. (Do not use a wet sponge because it can deepen the joints) Then, flip the sponge to use its clean side to wipe the surface once more. Then clean the sponge with clean water. Do not wipe it too several times. Since the tiles should be wiped immediately after grouting, the area should be separated and completed by 1 square meter each time so that the grout stain can be wipe out in time.
8. Use a damp sponge to clean the tiles again after grouting is complete for 1-2 hours. Leave the grout to become stable for 24 hours befor using the area for general purposes or 7 days for a swimming pool
DOWNLOAD
TILE INSTALLATION in PDF format
BUTTONS INSTALLATION
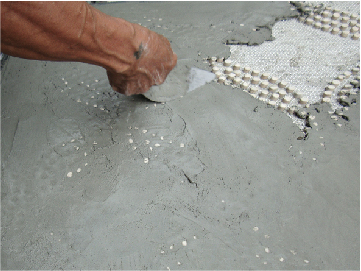
1. Level the floor or wall to have the desired level.
2. Butter the mortar or the adhesive for approximately 5-7 mm. thick by using a trovel. (Buttons tiles are 8 mm. thick, net included.) Use a notched trowel to make long scratches on the surface that requires tiling.
3. Pave the Buttons Graphics’ IRIS tiles on the area as per the desired pattern. Use the plastering trowel to press the tiles to level them. Leave the cement or adhesive to dry for 24 hours.
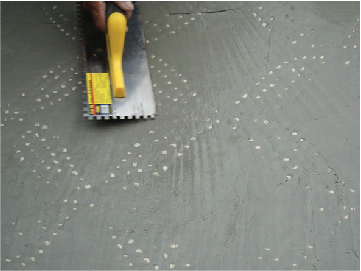
4. *If cement is used (for wall and floor), mix the cement with water to the right proportion. (Plastering cement or white plastering cement is such as Tiger Brand Cement Decor, Slow Drying Formula). Powder color may be mixed to add color as desired.
**If grout is used (for wall only), use the grout for extra wide joint or the grout formula as recommended by IRIS to grout the joints between the tile design to level out with the tile surface.
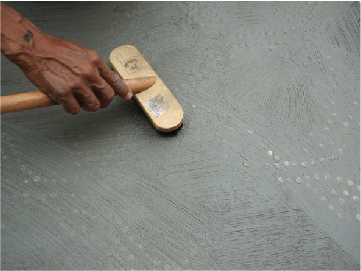
5. While the cement surface becomes stable. (Do not let it dry completely). Use a brush to gently wipe the extra cement out of the surface until the pattern is visible. Extra cement should be removed from the blank area of the pattern until it has the same level to prevent the surface from becoming wavy.
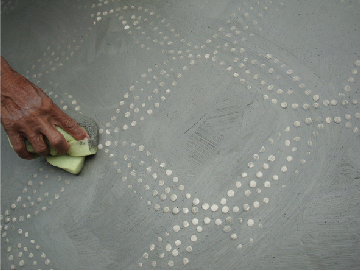
6. Then, use a damp sponge to wipe the cement stain out of the tile surface. The surface should be wiped in the same direction and the sponge should be frequently washed with clean water. If the pattern appears as desired. Leave the cement to dry for approximately 2 hours.
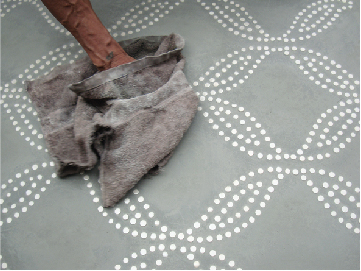
7. Use dry cloth to clean the tiles again until all the cement stain is completely removed.
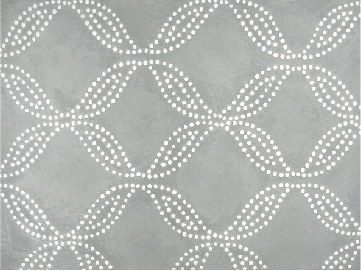
8. Leave the cement to become solid completely before general usage.
DOWNLOAD
BUTTONS INSTALLATION in PDF format
TILE CUTTING
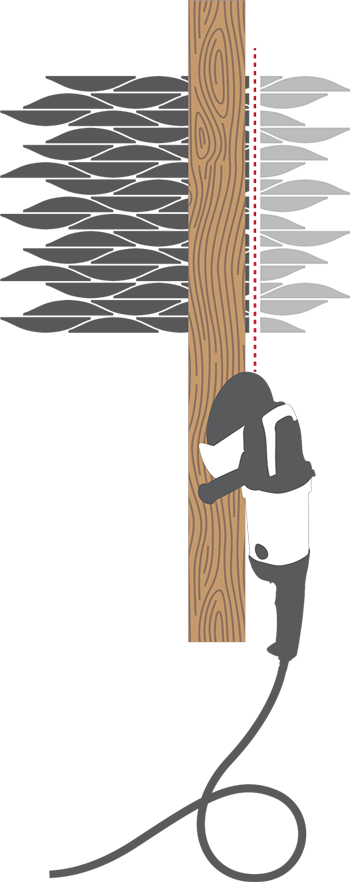
Tile from IRIS INDUSTRIAL is variable in size and shape. Some installing place is need to be cut the tile to fit the edge or seam detail. Our tile is easily to cut.
